Disabling the touchscreen on your Chromebook can improve focus, prevent accidental taps, and extend battery life, especially when using a keyboard or external mouse. It’s also useful in shared environments to avoid unintended interactions, for precision tasks that require mouse input, or to reduce wear on the screen over time. Whether you’re a student, professional, or casual user, knowing how to turn off touchscreen on Chromebook provides greater control over your device and enhances overall usability.
Check if Your Chromebook Supports Touchscreen
Before attempting to disable your touchscreen, it’s important to confirm whether your Chromebook actually has this feature. Not all Chromebooks come with a touchscreen, as some budget or older models rely solely on a keyboard and touchpad for input. To check, simply look at the device specifications on the manufacturer’s website or in the Chromebook’s system settings. You can also try physically touching the screen—if it responds to taps, swipes, or gestures, it’s a touchscreen-enabled device.
Another way to verify is through the Chrome OS settings. Open Settings → Device → Displays and look for any touchscreen-related options. Some models may list the touchscreen as an input device, while others may only show options when a touchscreen is active. Knowing whether your Chromebook supports a touchscreen is crucial because attempting to disable it on a non-touchscreen device will have no effect and could cause unnecessary troubleshooting confusion.
Using Chrome OS Settings to Manage Touchscreen
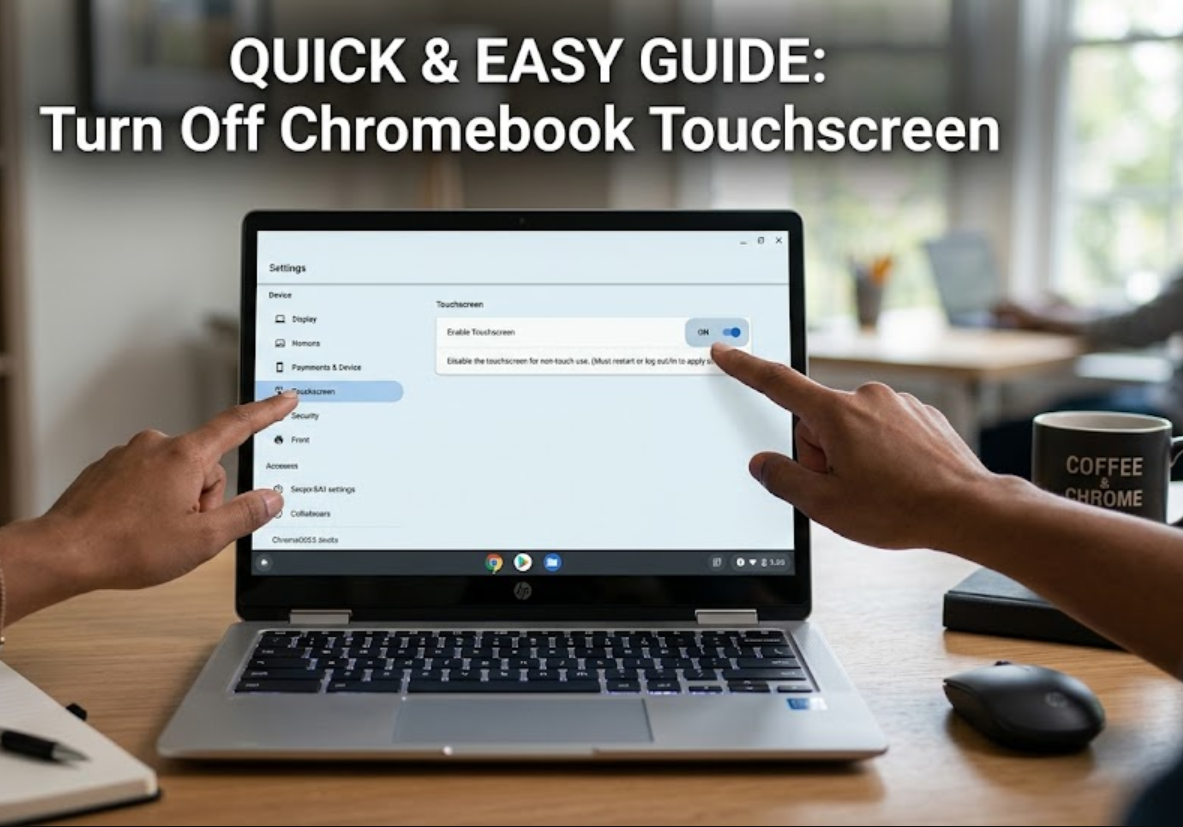
For many users, the first step in managing the touchscreen is checking Chrome OS settings, though it’s important to note that most Chromebooks do not offer a native on/off toggle for the touchscreen. On certain models, you can manage touchscreen behavior when using external displays or tablet mode by navigating to Settings → Device → Displays. Here, you may find options to adjust screen rotation, orientation, or input preferences that can indirectly control touchscreen functionality. While this method is limited, it’s a safe and beginner-friendly way to explore touchscreen settings without entering developer mode or using command-line tools.
Disabling the Touchscreen via Crosh Commands
For users looking for more control over their Chromebook, the Crosh terminal offers a practical way to temporarily disable the touchscreen. Crosh, or Chrome Shell, is a built-in command-line interface that lets you access system-level functions. To use it, press Ctrl + Alt + T to open the Crosh terminal. Then, type xinput list to display all input devices connected to your Chromebook, including the touchscreen. Each device will have a unique ID number, which you will need for the next step.
Once you have the device ID for the touchscreen, type xinput disable [device ID] and press Enter. This command will immediately turn off the touchscreen functionality. Keep in mind that this method is temporary—the touchscreen will automatically re-enable after a reboot. For users who want a safe, reversible solution without entering developer mode, Crosh commands are an effective option. Always double-check the device ID before disabling it to avoid affecting other input devices like the touchpad or external mouse.
Using Developer Mode to Turn Off Touchscreen
For advanced users, enabling Developer Mode on a Chromebook provides a more permanent way to disable the touchscreen. Developer Mode unlocks deeper system controls that aren’t available in standard Chrome OS settings, allowing you to modify device drivers and input configurations. Once enabled, you can access the system shell to identify and disable the touchscreen at the kernel level. However, this method comes with important warnings: enabling Developer Mode will wipe local data, may void your warranty, and can expose the device to security risks. It’s recommended only for users who are comfortable with command-line operations and understand the potential consequences.
Tips for Managing Touchscreen on External Displays
When using an external monitor with your Chromebook, managing touchscreen functionality can improve workflow and reduce distractions. Many Chromebooks automatically detect external displays and may allow you to disable the internal touchscreen while keeping the external screen active. This is particularly useful in desktop setups, presentations, or multitasking environments where touch input on the laptop screen is unnecessary. To check this, go to Settings → Device → Displays, and look for options to manage input sources or touch functionality. Adjusting these settings ensures that your external display works seamlessly without accidental taps from the laptop’s touchscreen.
Another useful tip is to use external keyboards and mice instead of relying on touch input when connecting to larger displays. This combination minimizes accidental touches and enhances precision, especially for design, data entry, or gaming tasks. Additionally, keeping the touchscreen disabled in these scenarios can save battery life and reduce screen wear over time. By understanding these practical strategies, users can optimize their Chromebook experience, maintain productivity, and extend the lifespan of both the device and its touchscreen.
Common Issues and Troubleshooting
Disabling the touchscreen on a Chromebook can sometimes lead to unexpected issues, such as the device not recognizing input from external devices or the touchscreen re-enabling after a restart. Common troubleshooting steps include rechecking device IDs in Crosh, ensuring that Developer Mode changes were applied correctly, and confirming that system updates haven’t reset settings. Additionally, some Chromebooks may have limitations depending on the model, meaning that certain commands or settings may not work as intended. If problems persist, consulting the official Chromebook support page or performing a system restart often resolves most minor issues while keeping your device stable and functional.
Conclusion
Disabling the touchscreen on a Chromebook can greatly improve usability, productivity, and device longevity, especially for users who prefer keyboards, external monitors, or precise input methods. While Chrome OS doesn’t offer a simple toggle for turning off the touchscreen, there are several effective methods available, from adjusting settings for external displays to using Crosh commands or entering Developer Mode for more permanent control. By understanding these options, users can tailor their Chromebook experience to match their workflow and reduce accidental touches or unnecessary battery drain.
Whether you’re a student, professional, or casual user, knowing how to turn off touchscreen on Chromebook gives you greater flexibility and control. Always consider the potential trade-offs of each method, such as temporary resets or security risks in Developer Mode, and follow step-by-step instructions carefully. With these strategies, you can make your Chromebook more efficient, reduce distractions, and optimize it for both productivity and longevity.
FAQs
1. Can I permanently disable the touchscreen on a Chromebook?
Yes, using Developer Mode allows more permanent control, but it comes with security risks and may wipe local data. Temporary disabling is safer via Crosh commands.
2. Will disabling the touchscreen affect external monitors?
No, you can keep external displays functional while disabling the laptop’s internal touchscreen in Chrome OS settings or with commands.
3. Is there a native toggle in Chrome OS to turn off the touchscreen?
Most Chromebooks do not have a native on/off toggle. Options are limited to settings for external displays, Crosh commands, or Developer Mode.
4. Can I re-enable the touchscreen after disabling it?
Yes, Crosh commands or Developer Mode changes can be reversed, and the touchscreen automatically reactivates after a system restart if disabled temporarily.
Visit for More Gossips and Information:- How Thread